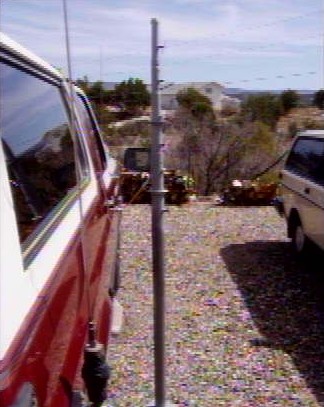
We in SATERN (Salvation Army Team Emergency Radio Network) are very concerned with the ability to move into a disaster area and quickly put up antennas, especially the Maypole antenna as described in another section. This project builds such a pole that will, when collapsed, be small and light enough to carry in a normal vehicle, but will be strong enough and high enough to do the job. In addition to emergency work, this pole is also very good for Field Day.
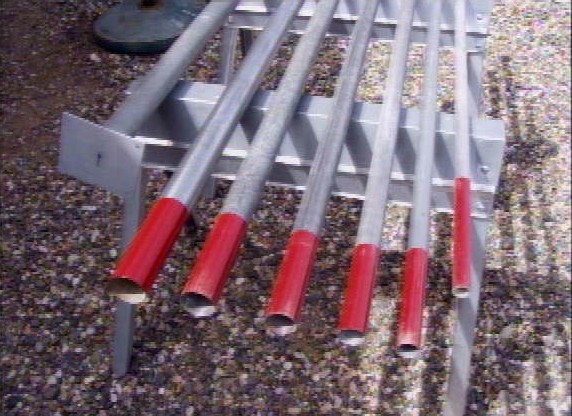
| 2 inch diameter | 4 1/2 ft length |
| 1 7/8 inch diameter | 5 ft length |
| 1 1/2 inch diameter | 5 ft length |
| 1 3/8 inch diameter | 5 ft length |
| 1 1/4 inch diameter | 5 ft length |
| 1 inch diameter | 5 ft length |
| 3/4 inch diameter | 5 ft length |
The two odd sizes (1-3/8 and 1-7/8) are "top rail" purched from a fence company because they are not available from normal sources in the EMT conduit pipe. The finished pole will be a bit longer than 32 feet and approximently 6' 4" when fully collapsed.
There is a need for a guying ring at the top of the first section,to assist person in putting up the pole. There are numerous ways to accomplish this, so use your imagination.


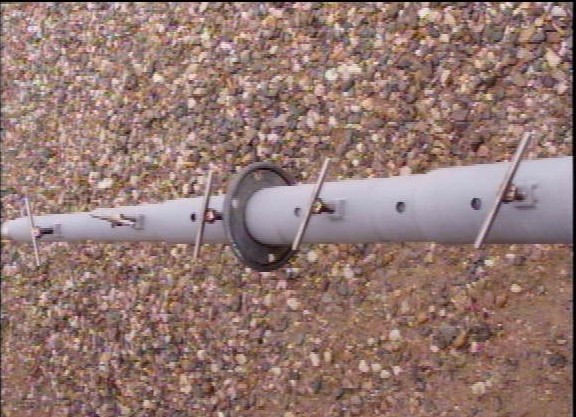
It is very important to drill a 1/4" hole, 7" down from the top of each of the lower 5 sections of EMT pipe. When the inner section is raised and clears this hole, a 1/4" bolt should be placed thru the pipe. This allows the weight of all upper sections of pipe to bear down on the bolt.
it is very important to not over-tighten the clamping T-bolts. If the operator does over-tighten the clamp bolts, this will distort the inner pipe and this makes it difficult to telescope the sections. In other words, only tighten down the clamp T-bolts firm enough to eliminate pipe racking.

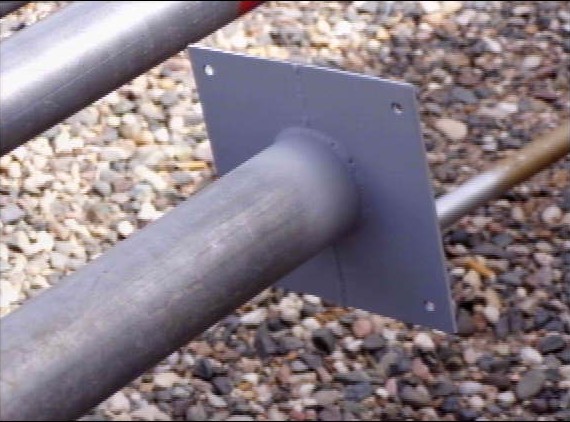
The base plate isn't necessary, as long as some method is used to steady it until guy ropes can be attached to the top of the guying ring on the base pipe. Generally, the weight of the pole assembly will keep the pole from shifting, as it will tend to sink into most soils.